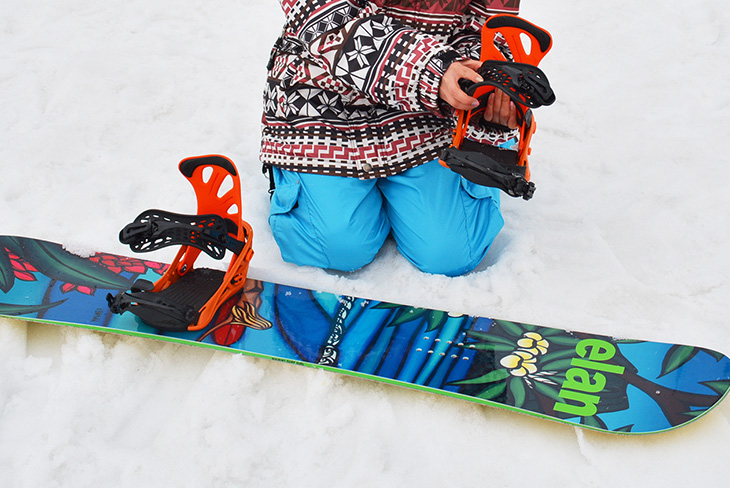
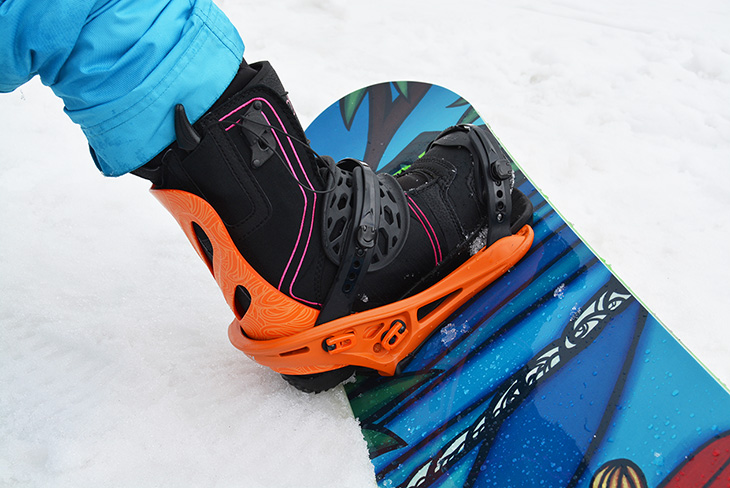
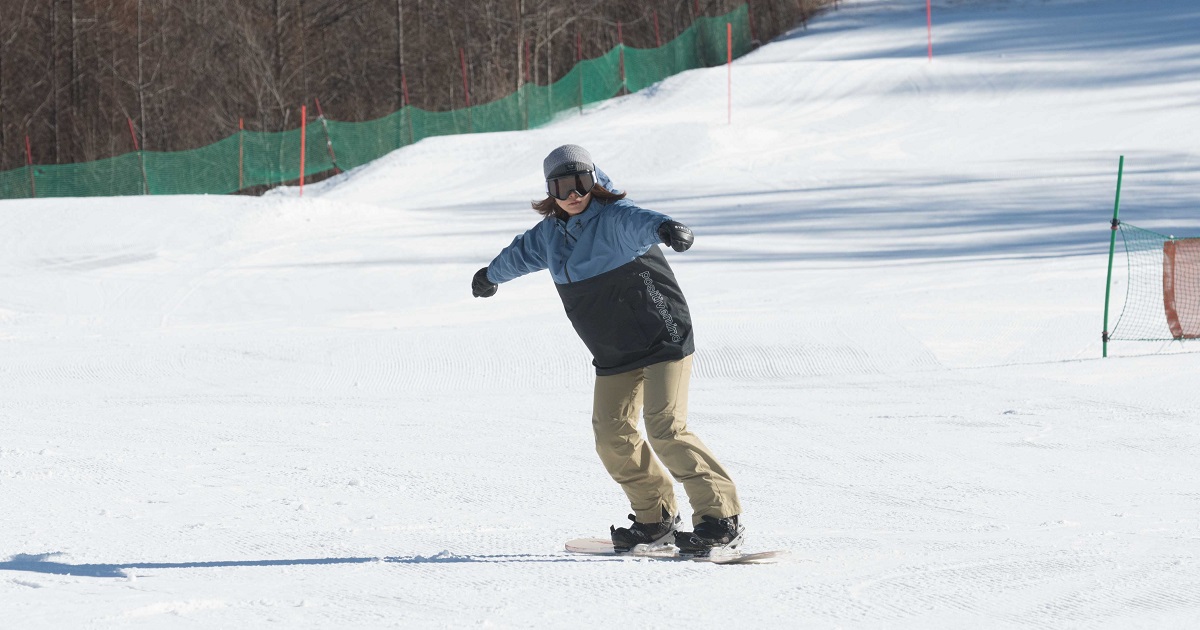
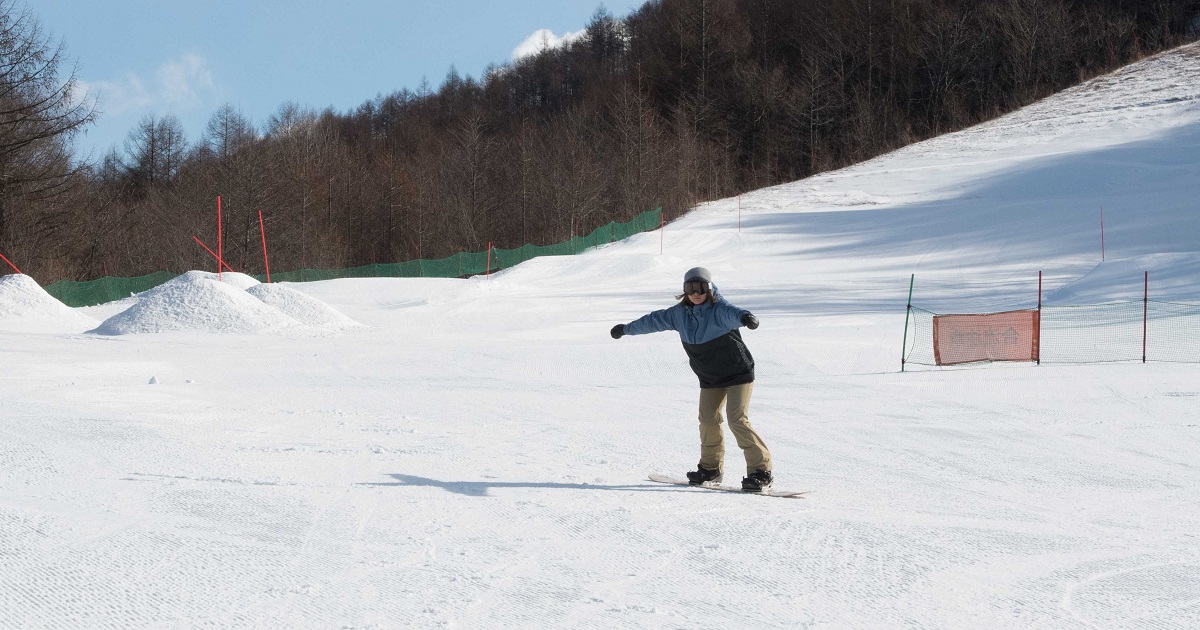
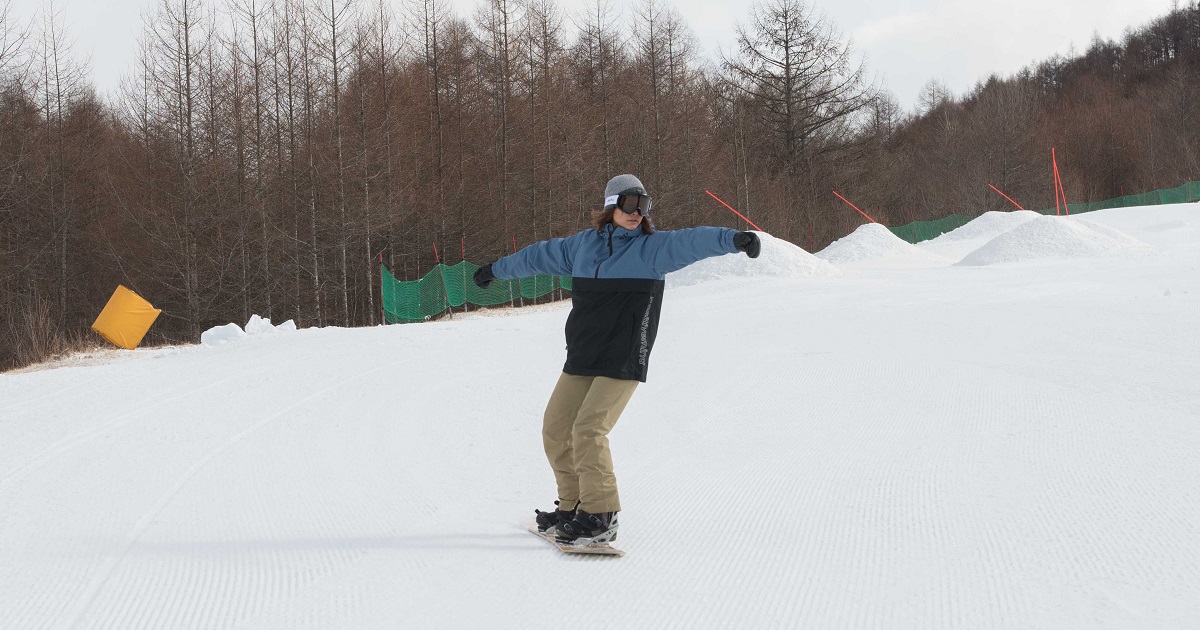
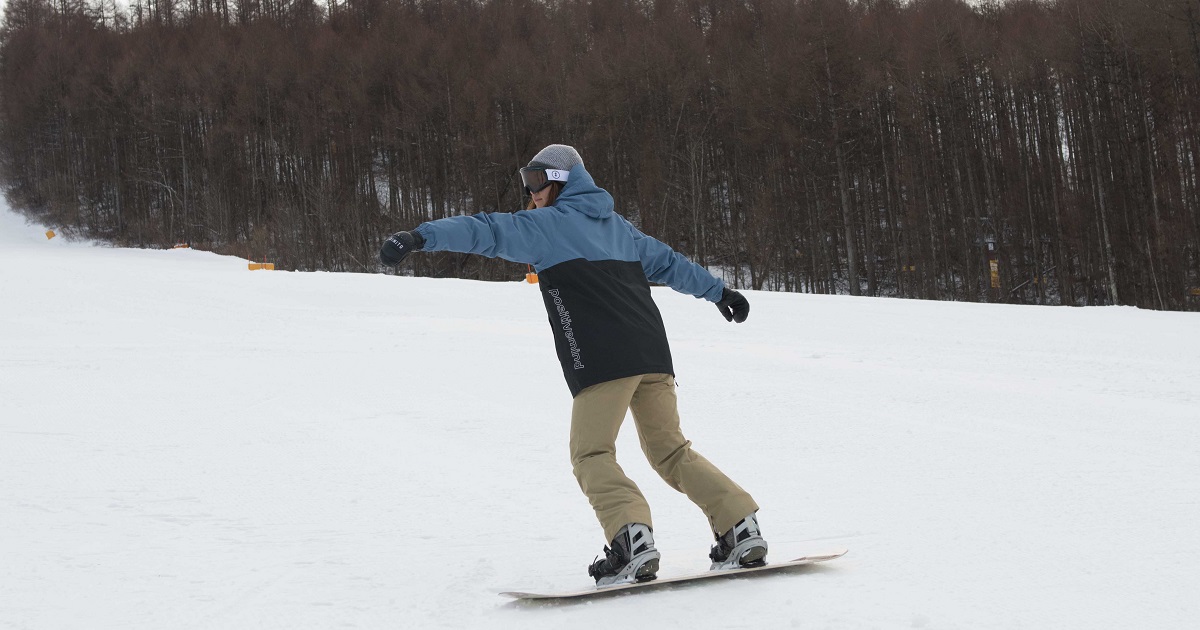
Snowboard bindings are affixed with screws to make it easy for you to adjust the settings yourself. You can change the position and angle at which the bindings have been affixed according to your physique, level and snowboarding style. The main points you need to take into account are stance width and angle. We'll show you how to make such adjustments.
Stance width
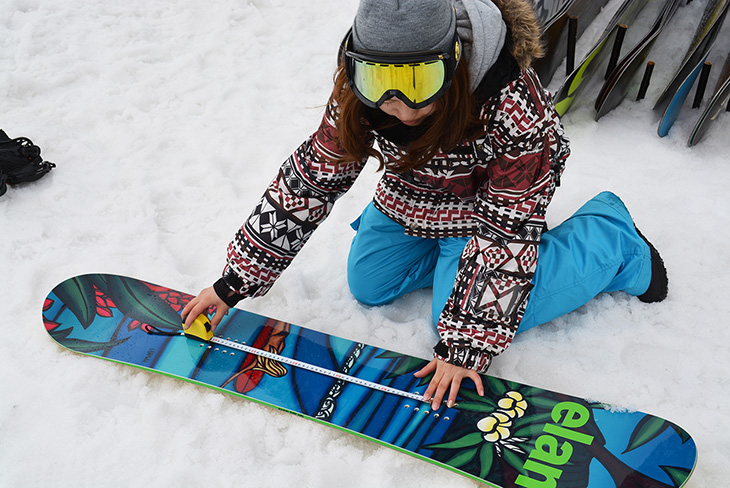
"Stance width is the space between the left and right bindings - the distance between your feet when they're both on the board. In general, a good stance width is about the width of your shoulders. You can use a tape measure to determine where to affix your bindings.
Widening your stance width offers more stability, whereas narrowing your stance width makes it easier to flex and turn the board. You can adjust your stance depending on your snowboarding style, which may include snow parks, ground tricks and free runs."
Binding attachment locations
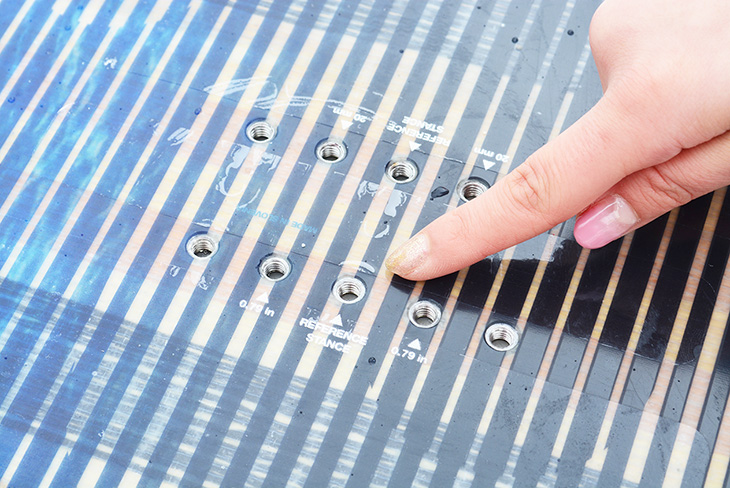
Snowboards have a binding attachment position that the manufacturer recommends, and this is where you should first attach the bindings. Then, once you've got a taste for boarding, you might want to try adjusting your stance width. Attach the bindings so that the top of the board faces forward. Also, be careful not to get the left and right bindings mixed up.
Changing the angle
"The angle refers to the angle at which the bindings are attached. When your feet face perpendicular to the length of the board, we call this 0º. When the toes are facing in the forward direction the angle is positive, and when they're facing in the backward direction, it's negative. You can adjust the angle by rotating the binding disc plate.
Different people have different angle preferences. There are also certain settings suited to specific types of snowboarding, such as jumps, jibs, pipes, riding over geographical features, and free runs. Angles also differ between men and women."
The first rule of thumb is putting the back foot at 0º and the front foot at 15 - 18º. It's then recommended that you make minor adjustments after getting used to riding. However, caution is required if you use too sharp an angle or have too wide a space between the left and right feet, as this can cause ankle and knee injuries.
Setback
Attaching the bindings somewhat toward the tail of the board is called setback. This shifts your weight toward the back of the board, increasing slidability and control and making it easier to snowboard through powder snow. There are also special boards such as powder boards that have been designed with the bindings installed in the setback position.
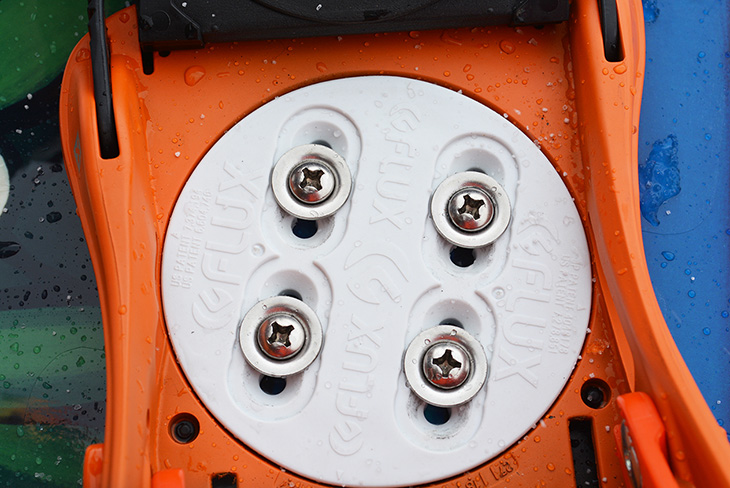
Centering adjustment
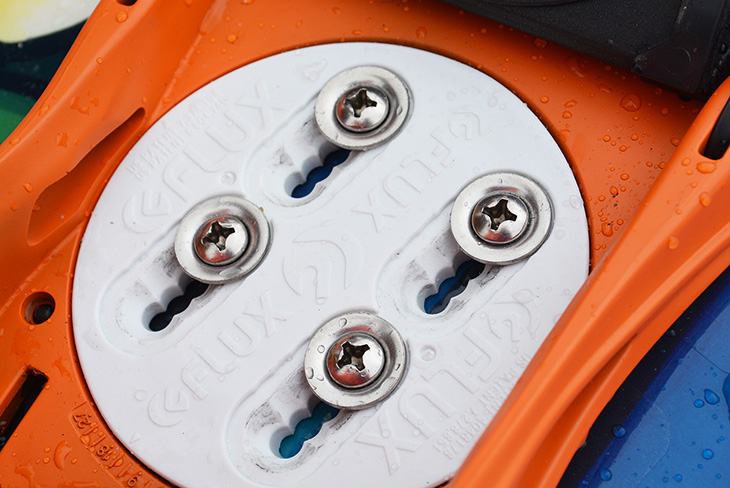
Once you have fixed the bindings with the screws, step on with the boots and check that the toe or heel regions do not excessively extend from the board. If, for example, the heel extends from the board like this, it could catch on the snow surface when the board is slanted. You can eliminate this kind of protrusion by altering the screw hole position on the disc plate. Such adjustment is called centering.
Normally, screws are inserted into the mid-point of each of the screw holes on the disc plate for fixing.
Inserting screws into the back holes of the disc plate positions the bindings toward the toes, eliminating any protrusion of the heels.
Inserting screws into the front holes positions the bindings toward the heels.
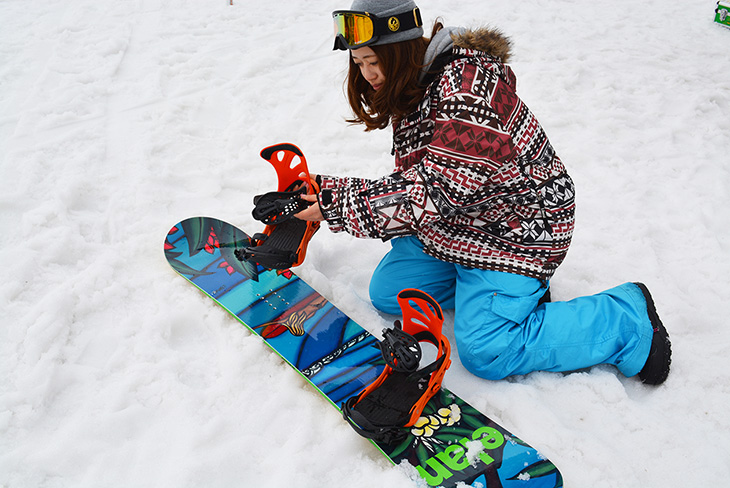
Strap adjustment
You can also alter the strap length. The fit can be adjusted by altering the insertion position of the screws that connect the strap, to make it longer or shorter. The heel cap screw position can also be altered to widen or loosen the overall binding fit.
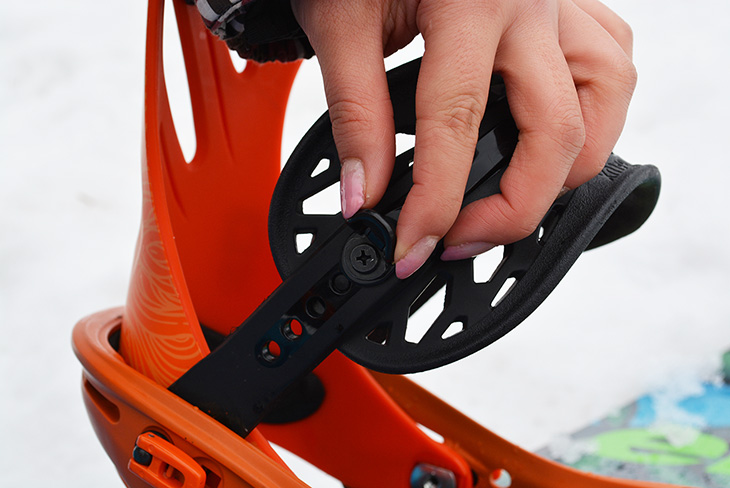
highback adjustment
You can also adjust the slant of the highback. Setting it forward makes it easier to lean forward and is called the forward lean. This makes it possible for the edge to stand up with only a slight amount of edging, and to perform quick maneuvers. The angle can be adjusted with a part found behind the highback.


![カービングターン[SNOWBOARD編]](/realimg_report/36/ogimg.jpg)
![バックカントリーにチャレンジしてみよう![SKI&SNOWBOARD編]](/realimg_report/28/ogimg.jpg)